OMR Reviews
find out more"I have finally found a tool that allows me to embed videos on my website in compliance with GDPR and without additional cookies."

We developed First-Party Hosting because we believe it’s the true gold standard for secure and modern video hosting. Our mission was to make this solution as accessible and simple as possible – not just for the big players, but for anyone who values premium, European-based video hosting.
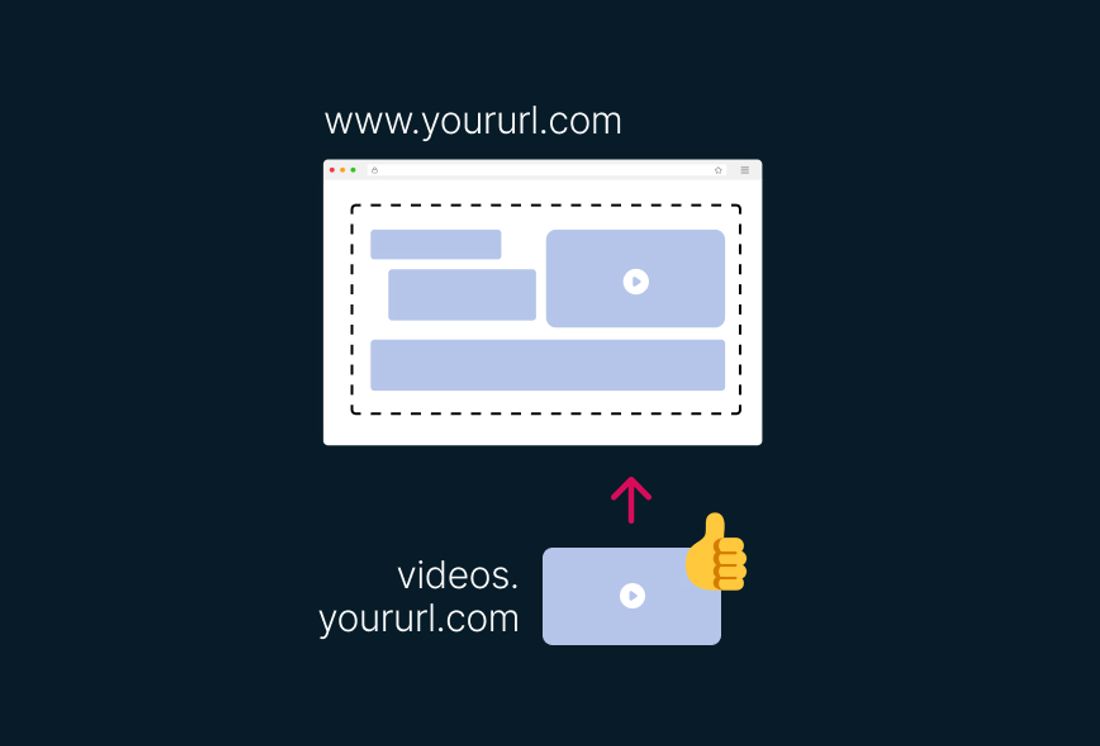
With First-Party Hosting, your videos are delivered directly through your own domain. This means videos.yourURL.com, not through Vimeo, YouTube, Brightcove, Cloudflare, or similar platforms. You can read more about the advantages on our First-Party Hosting product page.
When you hear the term "DNS entry," you might feel hesitant. Don’t worry – the setup is incredibly quick and straightforward. It’s worth noting that First-Party Hosting is an optional feature. While we, as web video nerds, highly recommend enabling it, you’re free to go without it if needed.

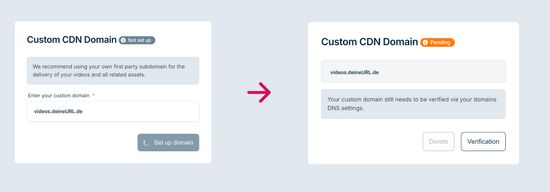
The first step is selecting your subdomain. This will be used later to deliver your videos – for example, videos.mydomain.com.
videos.mydomain.com).Tip: Choose a subdomain that’s easy to remember and aligns with your branding.

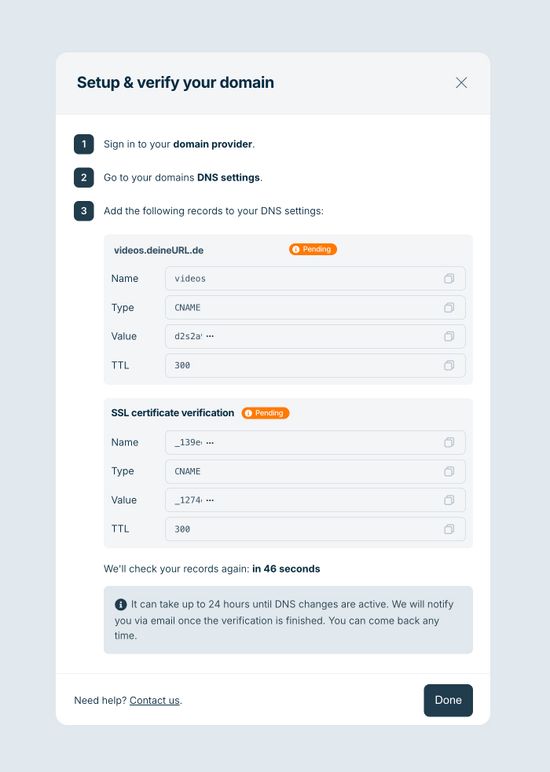
Now it gets technical, but don’t worry! We’ll guide you through exactly how to adjust your DNS entry. This step connects your subdomain to Ignite.
Tip: If someone else manages your domain, you can simply forward them the details from Ignite. They’ll know what to do.
If you need help, here are step-by-step guides for the most common providers:
If your provider isn’t listed, check their help section or search for “How to create a CNAME record.”
Tip: Ignite is happy to help if you have any questions. Just contact our support team!

Once you’ve set the DNS entry, Ignite will automatically check if everything is configured correctly. This usually takes just a few minutes.
Note: DNS changes can take up to 24 hours to propagate, but they are often active within minutes.
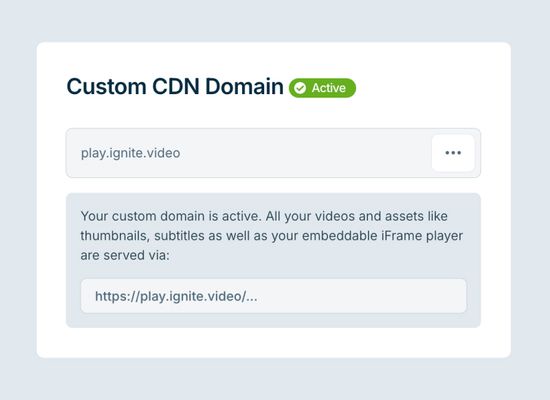
Now you’re ready to go! Upload your videos to the Ignite dashboard and embed them into your website.
For enterprise clients or agencies, it’s also possible to set up multiple First-Party domains. We’ll discuss the details during the setup of your account.